It can be overwhelming building a custom PC with the amount of cables involved, especially if this is your first time. Luckily, the process to get everything connected and powered up is not as complicated as you might think. To start, we will lay out the purpose of each cable, and where its designated connector is located.
Powering up the motherboard
The motherboard has two distinct positions where cables will connect. The primary connection is on the right side of the motherboard, and this is for the 24 pin ATX cable. This essential cable powers the motherboard and all of its connected components.
The second position is at the top left of the motherboard where either an 8 pin EPS cable, 4 pin EPS cable, or a combination of both, will be present. These cables provide power to the CPU, and are often the longest in length due to the distance to reach the power supply at the bottom of the case.
Occasionally, you may find an 8 pin EPS cable that splits into two 4 pin EPS cables. This functions exactly the same, but allows for more modularity due to the ability to use the cable with motherboards featuring either a single 4 pin EPS cable or a full 8 pin EPS cable.
Cables for the graphics card
Graphics cards require PCI-E cables for power. These will look like 8 pin PCI-E cables, 6 pin PCI-E cables, and even the newer 12VHPWR cables. These cables are distinctly different from the 8 pin EPS cables, and can not plug into one another’s connection point due to the way they are keyed, and wired.
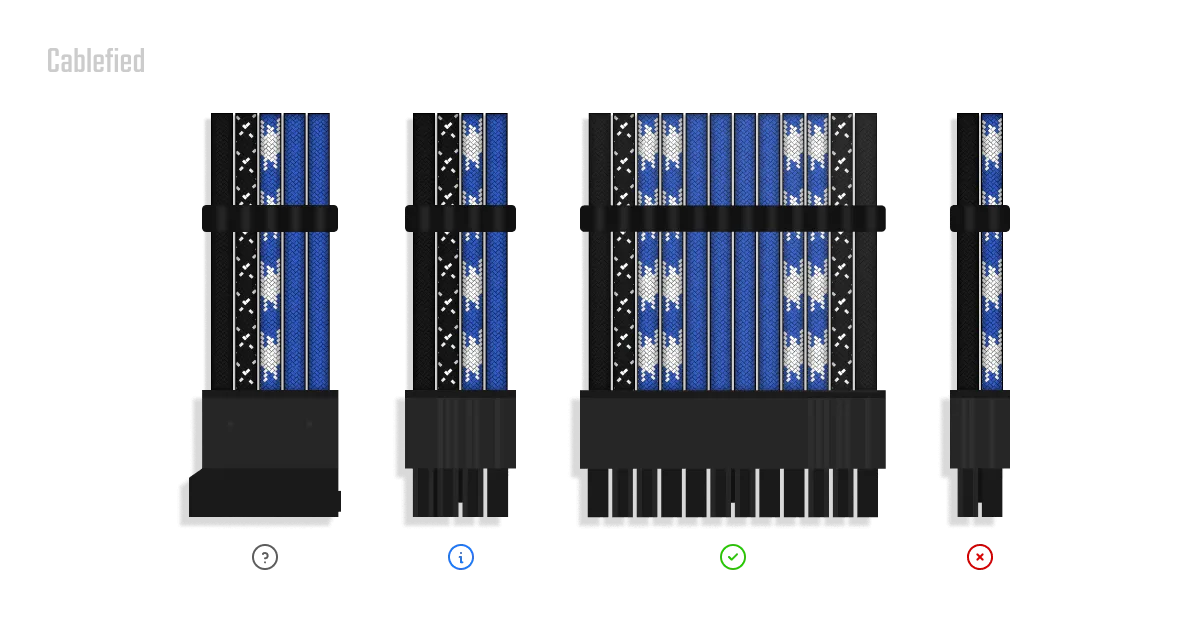
What is the connector key?
The connector key defines the shape of the pins on the connector. For example, some pins are square, while others are angled at the corners. The key prevents a specific cable from being plugged into the incorrect position on both the power supply and component end.
You may also find 8 pin PCI-E cables that split into two connectors called 6+2 pin PCI-E cables. Similarly to the EPS cable example above, they function exactly the same, but allow for a more modular approach for builders who may have a graphics card with either a single 6 pin PCI-E cable or a full 8 pin PCI-E cable.
Peripherals have cables too
Peripherals generally refer to SATA and Molex powered devices such as HDDs, SSDs, optical drives, fan controllers, water cooling pumps, reservoirs, USB hubs, and more. SATA power cables feature an asymmetrical, flat connector, and generally only have four or five wires. Some of these components may also use Molex power cables. Molex cables are not as prominent as they once used to be, but have a symmetrical connector with only four wires that freely wiggle in the connector housing.
Connecting to the power supply
Once you understand the differences between each cable type, and the location they plug into, you will need to route the cables from the component down to the power supply in the case. Most power supplies label the locations for PCI-E, EPS/CPU, and motherboard cables. Once the cables have been routed through the case and plugged into the power supply, you can flip the power switch on the power supply and turn on the PC.